
Dimmable Bathroom Ceiling Lights
If you wonder how to dim your bathroom downlights, then this step-by-step guide will show you everything from start to finish.
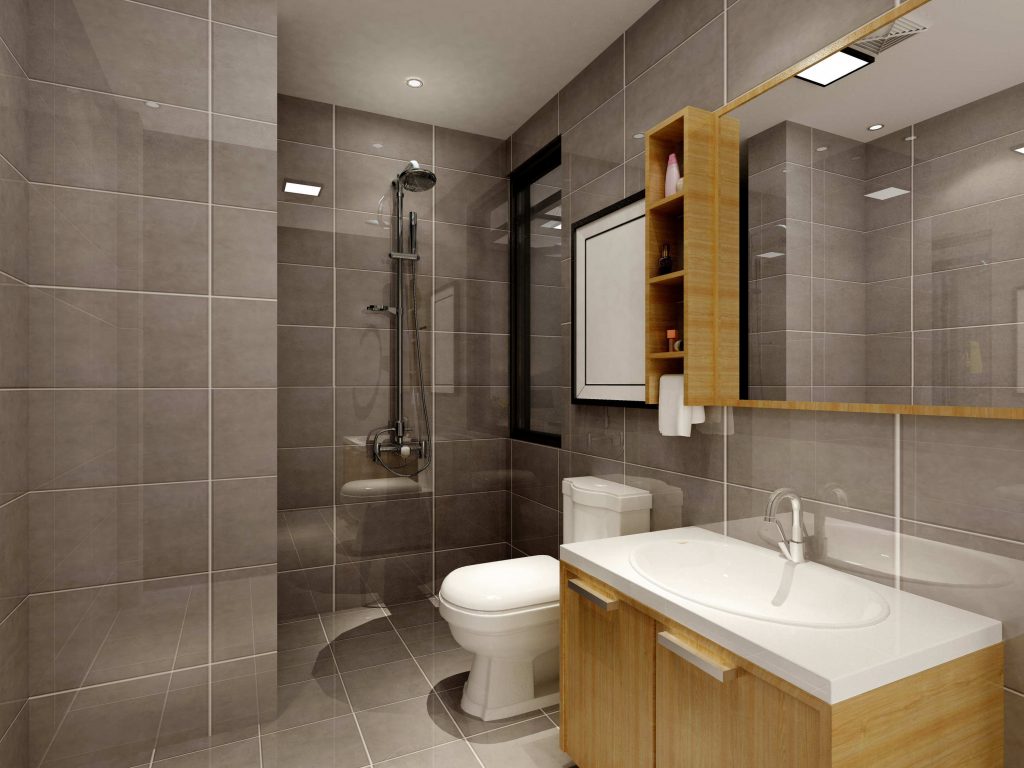
As you may already know, downlights are one of the best modern ways of illuminating your bathrooms. If you are a fan of clean lines and a simple lighting scheme, installing downlights is an excellent and space-saving option.
Lighting can transform your bathroom into a relaxing and functional space. Today, many people have either standalone ceiling light fittings together with some wall lamps, mirror lights, or shaver lights. Some also choose to couple their ceiling lights with a bathroom fan, while others simply combine a number of downlights.
One of the most frequently asked questions by homeowners is, "Can I dim my bathroom downlights?" The answer is yes. There are a few solutions to dimming your bathroom downlights, which is something that we are going to be exploring in today's guide.
Dimming Bathroom Downlights
First of all, you have to ensure that all your lights are dimmable. This means that the lighting fixtures allow you to dim – increase or decrease the light intensity. The light bulb also has to be dimmable. If the light fitting is dimmable, you can pick one of the solutions below:
Install a Dimmer Switch
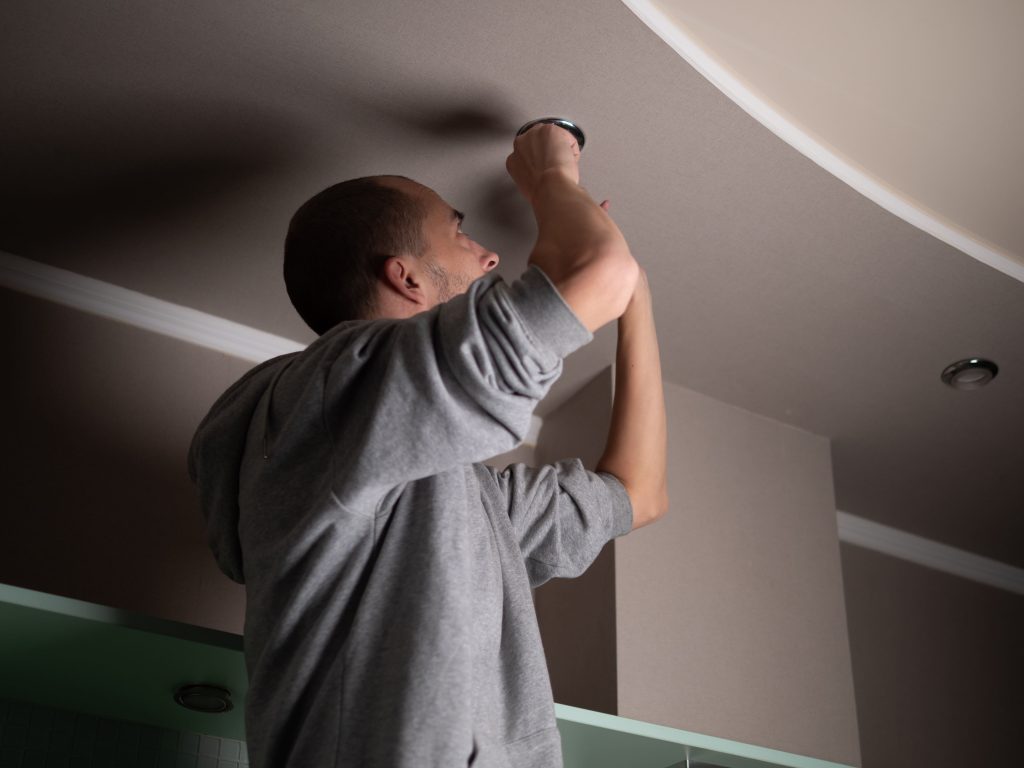
Due to the IP protection and Building Regulations in the bathrooms, it is impossible to have a wall switch inside the bathroom. However, the wall light switch outside the bathroom can be replaced with a dimmer switch. It is as easy as installing a single-pole switch. The following are steps on how to install a dimmer switch:
Step 1
Switch off the power to the circuit at the fuse box or circuit breaker. Double-check that it was turned off by flipping the switch in an attempt to operate the light. Using a voltage tester, confirm that the wires in the box are not charged once you remove the switch plate.
Step 2
Step 3
Use a screwdriver to loosen the screws holding the electrical wires on the side of the switch and separate the wiring from the switch. Note the wire colours and where they had been attached in the old switch, as this will be crucial in the next step. Ensure the wires remain separated by bending them to the opposite corners of the box. If your switch is grounded, remove the grounding wire last. The needle nose pliers are more suited for this step due to the small space.
Step 4
When attaching the dimmer, there will be three wires: one black, another white, and a separate ground wire which may be bare copper or sometimes wrapped in green. Identify the different wires and attach them to the dimmer the same way they had been attached to the switch. If the wires are solid copper, create a loop at the end of the wire with a pair of pliers and guide it around the screw on the side of the dimmer.
Use a screwdriver to tighten the screw and ensure the wire is held securely beneath the screw. If your wall wire is composed of a small group of smaller wires, use the pliers to twist the ends together to make them whole and follow the same direction.
Step 5
Once you have successfully attached the wires, you can fold any excess wire and compress the dimmer into the electrical box. Your movements should be slow to ensure the wires don't loosen or break. Once the cover is in place, turn the breaker or fuse back on to test your handiwork.
However, always remember that not all downlight bulbs are intended for use with dimmer switches. The wrong combination can damage the bulb as well as the dimmer electronics. Each bulb's package indicates if it is dimmable.
Use a Dimming Pull Cord Switch
A pull cord switch is one of the few devices allowed in the bathroom since it prevents wet fingers from getting close to the main voltages. It makes it easier to turn the lights ON and OFF and works with most low-voltage downlights. If the ventilation fan is connected through this switch, it will be ON as standard. However, you can install a dimming pull cord switch with which you can dim your lights to the level you desire with a prolonged pull.
Installing a dimming pull cord switch requires electrical expertise. You should have a professional electrician install it. However, you can replace your existing pull cord switch with one that has dimming capabilities. For the dimming pull cord switch to work, your downlight fixture and bulb need to be dimmable. You can accomplish this task in less than an hour, and you don't require many tools.
You can also check out our Switches and Sockets FAQ guide for more helpful information.
How to Replace a Pull Cord Switch With a Dimming Pull Cord Switch to Your Ceiling
Step 1
Switch off the power to the circuit at the fuse box or circuit breaker and double-check that it was turned off by pulling your pull cord switch.
Step 2
Your pull cord will probably have two retaining screws that need undoing to get the cover off. If there are no screws, you have to twist and turn the model, which you unscrew by rotating the whole cover anticlockwise.
Step 3
When you take off the cover, you can take a picture to know where the wires go. You may find two or three wires. Use a small flathead screwdriver to undo tightening the screws and pull out the wires.
Step 4
Unscrew the base unit mounted to the ceiling and remove the old unit.
Step 5
Undo the screws on your new dimming pull cord switch where the wires will go. Feed the main cable through the base and screw the base into your ceiling.
Step 6
Connect the wires and tighten the screws properly. If there is a third wire – earth wire -put a sleeve on it and connect it to its place on the base plate. Cover the unit, turn on the lights in the circuit breaker or fuse box, and test the dimming pull cord switch.
Bathroom Lighting Essentials
Like other rooms in the house, the bathroom requires the same share of attention when it comes to design, style, furnishing and lighting. Bathroom lighting is an essential element of the interior design, as any other bathroom accessory and piece of furniture might be.
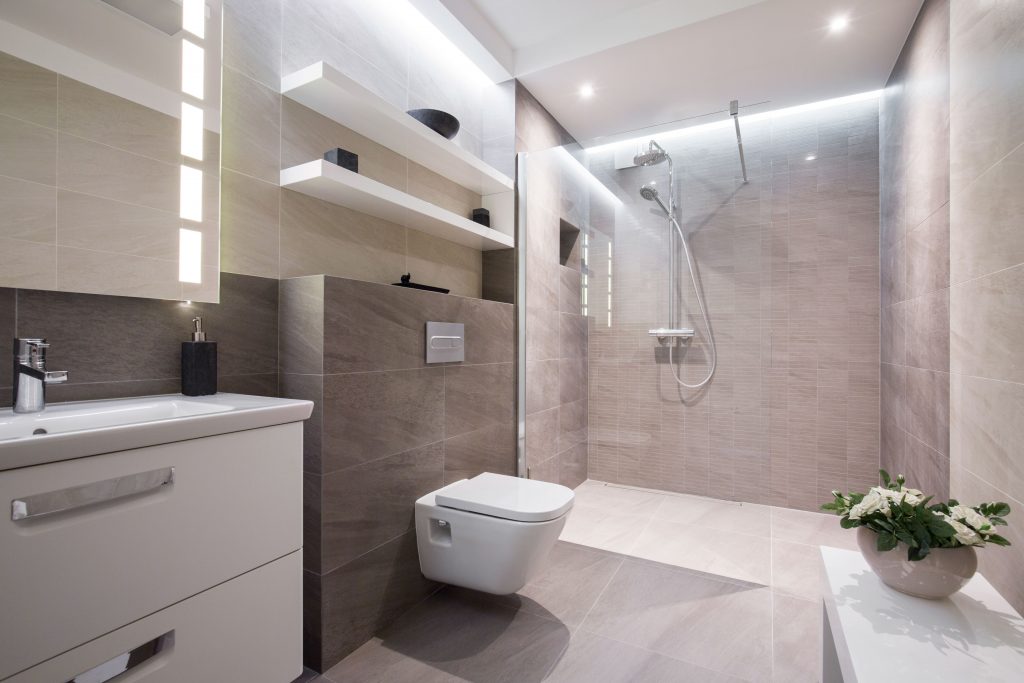
Most light is focused onto the main bathroom functional areas such as vanity, bathtub, and shower, while the rest of the space enjoys a softer ambient light. This helps create focal points and builds subtle light layers.
Bathroom Vanity Lighting
It is the area you mainly need twice a day to inspect and groom your head and face closely. This area needs to be adequately illuminated by installing tiltable downlights at both sides of the vanity mirror. Some people make the mistake of mounting lighting fixtures directly above the mirror. This causes shadow casting rather than light.
Evenly mounted light sources will provide cross lighting and sufficiently illuminate the entire head and face while eliminating shadows under the chin, eyes, or cheeks. Some bathroom vanity unit designs offer the option of directly illuminated bathroom mirrors that create a modern and stylish look. They act as a beautiful focal point in the bathroom vanity area.
Depending on whether there is natural light streaming into the bathroom vanity area and the interior design of your space, the vanity mirror sidelights can be replaced by a single but strong light source mounted over the mirror.
Bathtub Lighting
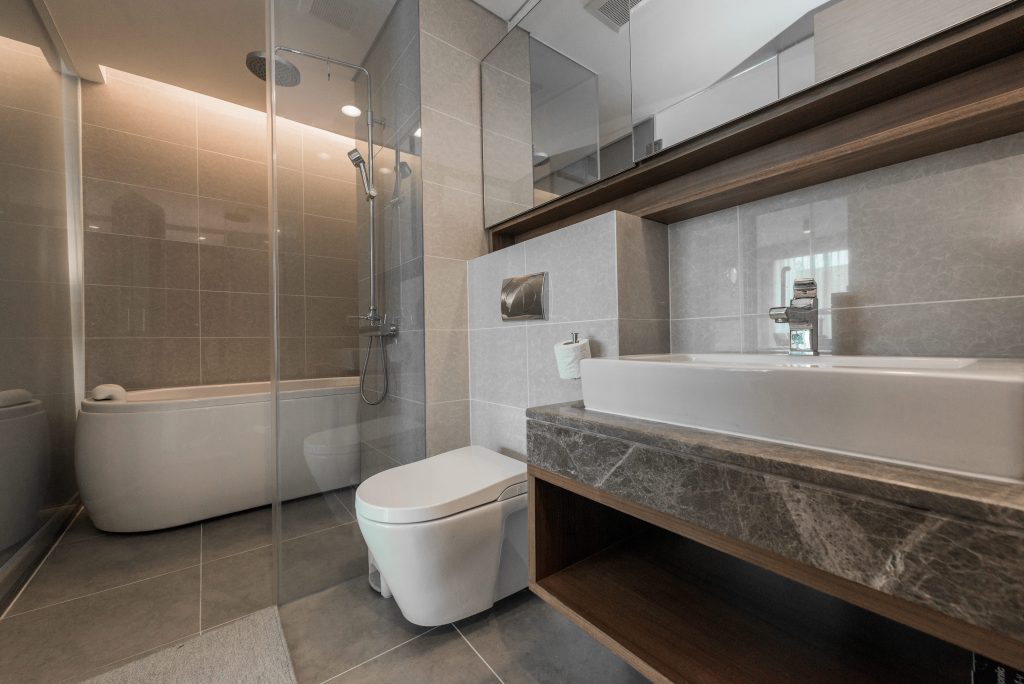
There is a steady and growing popularity of turning bathrooms into a place to relax and recharge. Most attention is naturally paid to the bathtub area. Apart from selecting the perfect bathtub, installing the proper lighting in this area is essential in achieving the desired 'spa' effect. It should be soft, matt, and somehow dimmer.
The spa effect can be achieved by installing downlight fixtures with white or frosted glass lenses and arranging them in rows or spreading like tiny stars on the ceiling. Some time back, a single ceiling mounted light fixture was the modest option. However, downlights are becoming more common due to their simple and stylish designs and light delivery.
Depending on the location of your tun, you can also consider using wall-mounted downlights. However, you should consider building regulations and IP ratings to ensure that the fixtures will be safe despite being close to water. Dimmable downlights are best used to light the tub where you can relax. You can use a dimming pull cord switch where you do not have to move a lot to dim your light to your desired level.
Shower Lighting
The shower may differ from a purposely separated, more spacious area to a much narrower shower enclosure or a cubicle. This area should be lit by abundant dedicated functional light as it is a place to get fresh and energised and used for grooming. You can have several downlights on the shower ceiling, casting a warm, soft, and diffused light.
Downlights that are distributed and spread around the shower area are the best solution. They can be mounted on the ceiling, at the top or/and lower edge, or/and along the tiled shower walls. Downlights with a minimum IP67 rating can be installed on the shower floor since they are not affected by water in any way.
You can use downlights in this area to highlight particular areas of the shower and make them sparkle. When choosing light fixtures for such areas where there is a lot of water and moisture, it is always important to consider safety. This area requires LED downlights with a minimum IP65 rating.
The Toilet and Bidet
If you apply the soft and broad rule of lighting in your bathroom space, you will find that there is sufficient light around the room. Therefore, you won't actually need a light at the toilet and bidet. However, you can introduce decorative lighting in the wall behind the toilet, occasionally used for shelving.
Some people may be obligated to illuminate the toilet and bidet. In such cases, you can have ceiling fixtures such as downlights installed directly above. This is not really satisfactory since we create our own shadows by sitting there.
Benefits of Dimmable LED Bathroom Downlights
Do you know why dimmable LED lights are becoming increasingly popular in the bathroom? Well, here are the benefits of installing dimmable LED downlights in your space:
- Better Lighting Control
They give you the ability to adjust lighting at your will. The switches you can use with dimmable LED downlights are easy to operate. For example, you can simply operate the dimming pull cord switch by pulling it until the light is dimmed to your desired level.
- Longevity and Efficiency
LED lights are well-recognised due to their longevity and less energy consumption. They are more expensive to purchase and install but use up to 80% less power than halogen bulbs.
- Environmental Consciousness
Since they use less energy, they exhibit great benefits to the environment. The construction of LED lights also makes it conscientious while fluorescent likes use mercury, an environmental contaminant. LED lights use recyclable elements such as aluminium.
- Safety
When lit, some lights get tremendously hot. In contrast, LED lights emit no heat. You can touch them without the risk of getting burned or injured. They also have an epoxy resin enclosure which makes them durable and solid, unlike the filament and fragile glass found in other bulbs.
If you enjoy spending time in your bathroom to relax, installing dimmable downlights should be your priority. They allow you to change the feeling in the bathroom and set the mood you desire. You can easily install a dimmer switch and set the mood as you get in the bathroom. You can also choose to have a dimming pull cord switch which you can use right in the bathroom.
For more information on the safety of Downlights, you can read our "Can Downlights Cause Fire" blog.
28th Apr 2021
Dimmable Bathroom Ceiling Lights
Source: https://www.arrowelectricals.co.uk/blog/how-to-dim-your-bathroom-downlights-a-step-by-step-guide/


0 Komentar